4 Ways to Transfer an Embroidery Pattern onto Fabric
When you start embroidery,
one of the first things that feels tricky is transferring the pattern onto fabric.
Here are methods I’ve tried myself and others I’ve looked into.
1. Using carbon paper (tried)
Place them in this order: pattern – carbon paper – fabric,
then trace the design with a pen that has no ink or a transfer pen.
From my experience,
it transfers quite cleanly and is easy to follow the original design.
Just make sure everything is secured well,
since it can shift slightly while tracing.
2. Using tracing paper
Draw the pattern on tracing paper (transparent or semi-transparent),
attach it to the fabric, and stitch directly over it.
After finishing, dissolve it in water.
This method helps keep the design very precise.
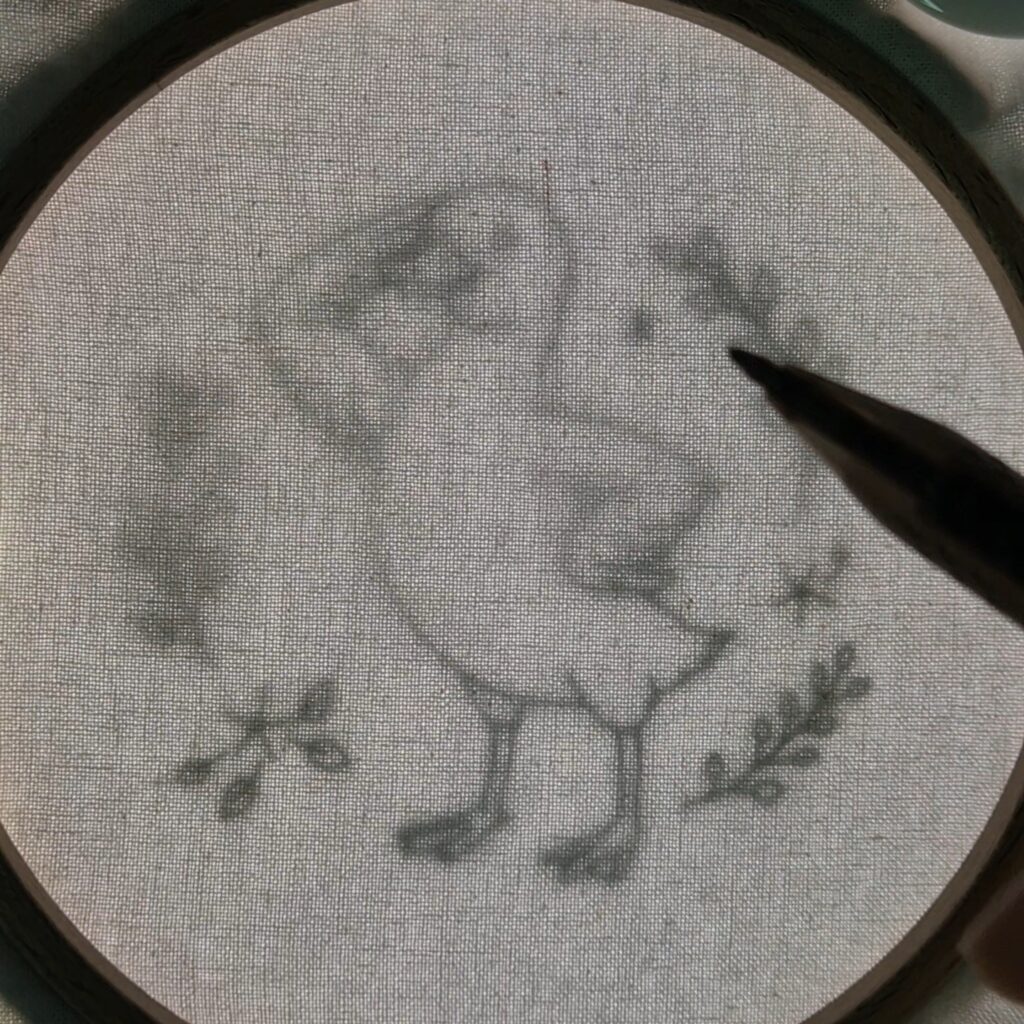
3. Using a heat erasable pen (my main method)
Place the fabric over the pattern
and trace it using a heat erasable pen.
Using sunlight or a light pad makes it easier to see.
After stitching, remove the marks with heat.
I usually use a hair dryer instead of an iron.
From my experience,
this is the easiest and fastest method.
The downside is
the lines are not always perfectly smooth.
4. Printing on fabric
You can also find a printing service
that prints your design directly onto fabric.
It costs money,
but gives the cleanest result.